


Refer to the RDS Secure Website Login Quick Start Guide for a process diagram.
This section provides step-by-step instructions and troubleshooting tips for all registered RDS participants to access the RDS Secure Website.
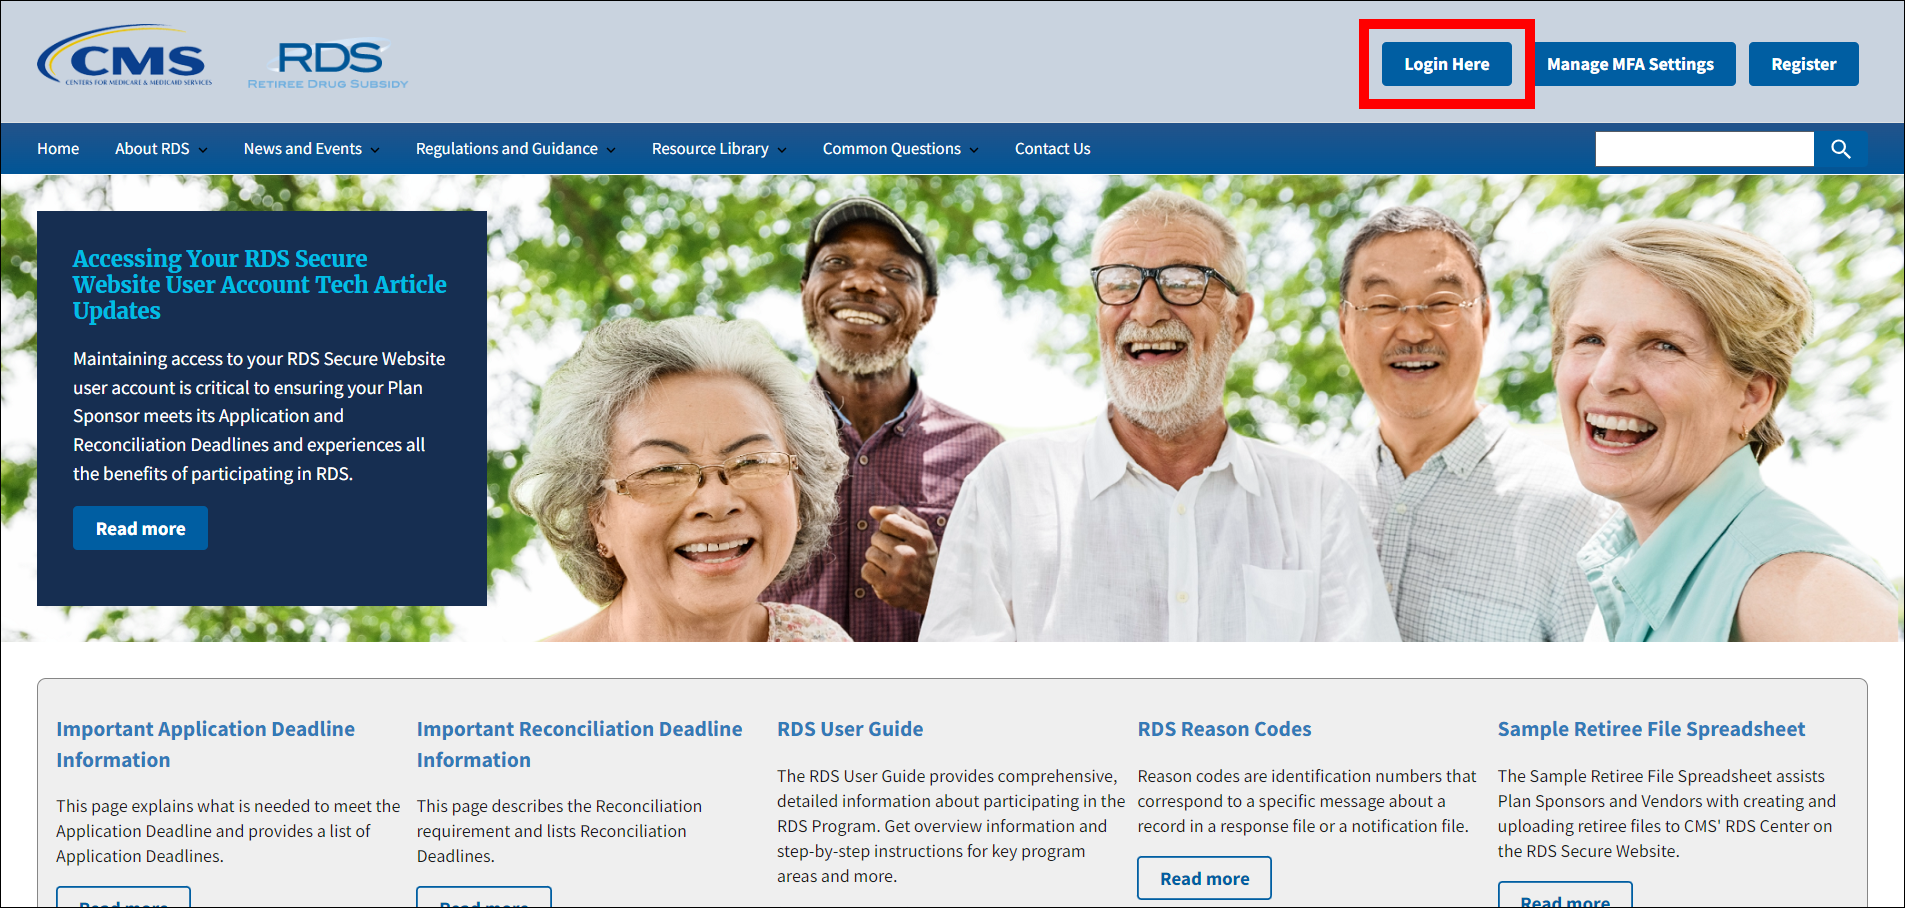
On the RDS Program Website homepage (http://www.rds.cms.hhs.gov):
-
Select Login Here.
On the Login page:
An asterisk (*) indicates a required field.
- *Enter your Login ID.
- *Enter your Password.
- *Enter your MFA Token. (Refer to Multi-Factor Authentication for guidance.)
- Select Login to proceed, or select Cancel to return to the RDS Program Website.
Important: If a problem with your account is identified, refer to the Troubleshooting section of this page, or the User Management pages, for guidance on resolving your account issue.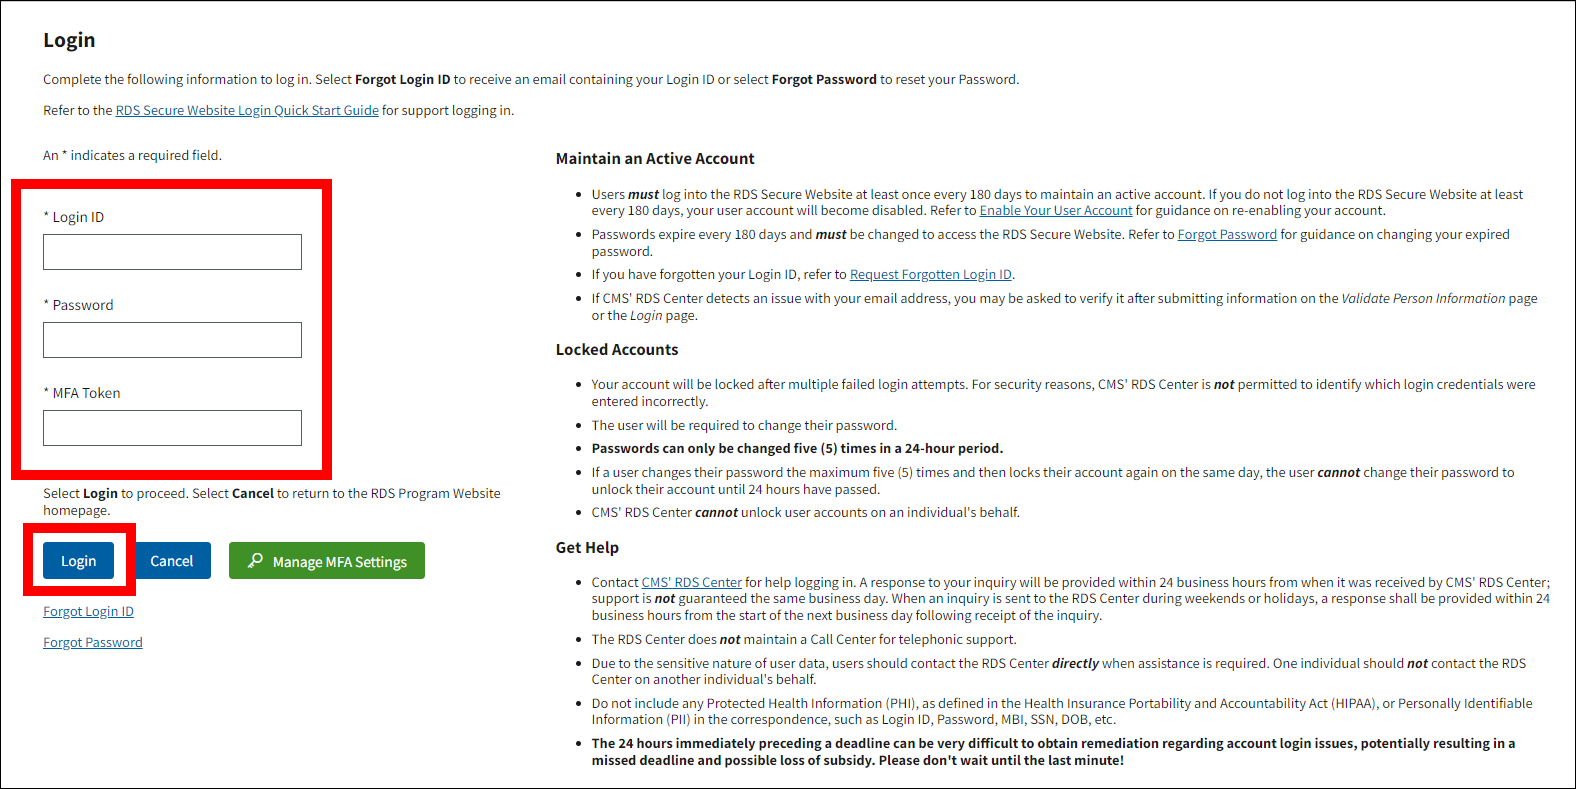 Note: Select Forgot Login ID to have an email sent to your registered email address containing your Login ID. Select Forgot Password to reset your Password. Select Manage MFA Settings to reset your Multi-Factor Authentication configuration.
On the Login Warning page:
- Review the Login Warning.
- Select Accept to continue, or select Decline to exit this process and return to the RDS Program Website homepage.
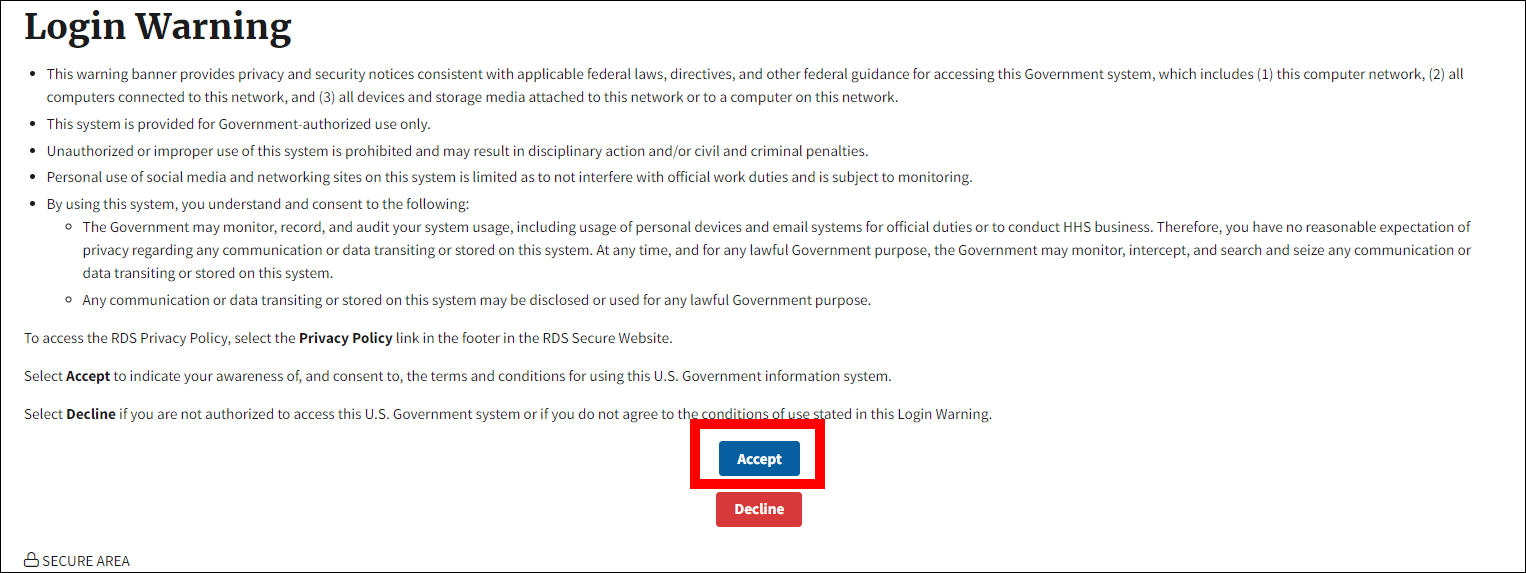
Note: If you are prompted to Verify Registered User Information after selecting Accept on the Login Warning page, refer to Verify Registered User Information in the RDS User Guide for step-by-step instructions.
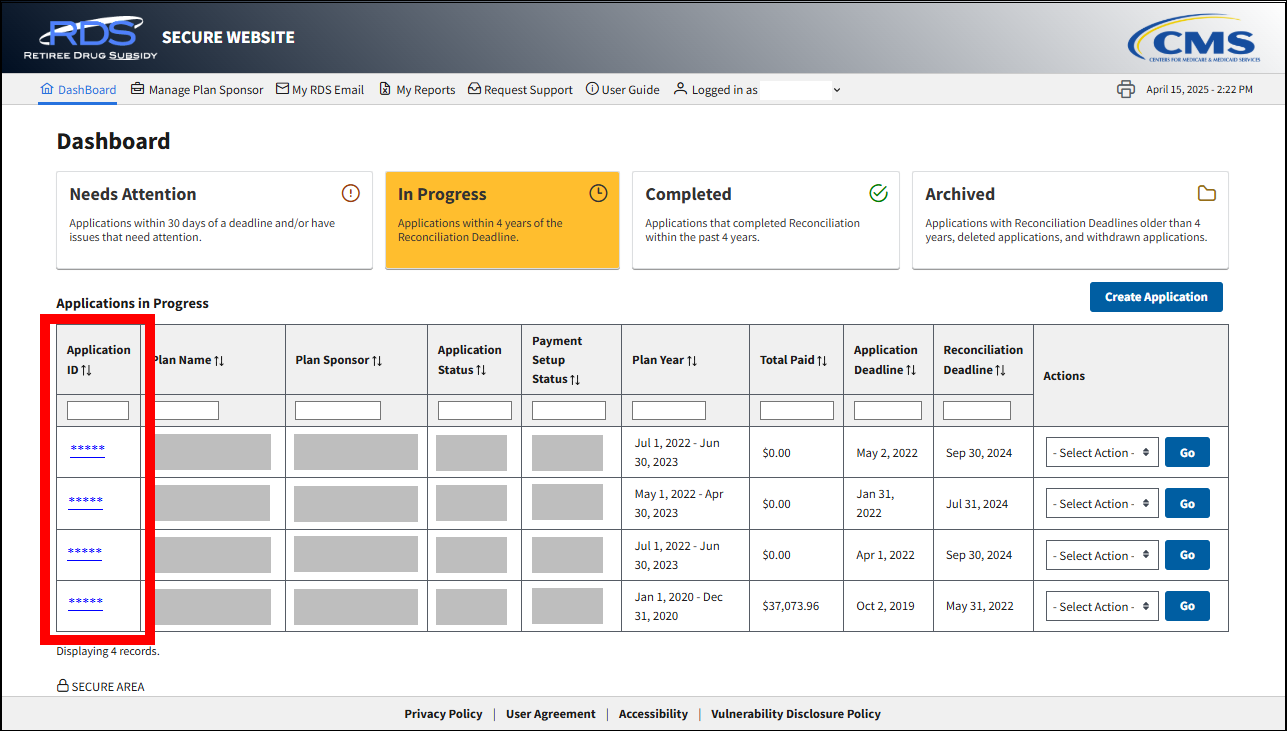
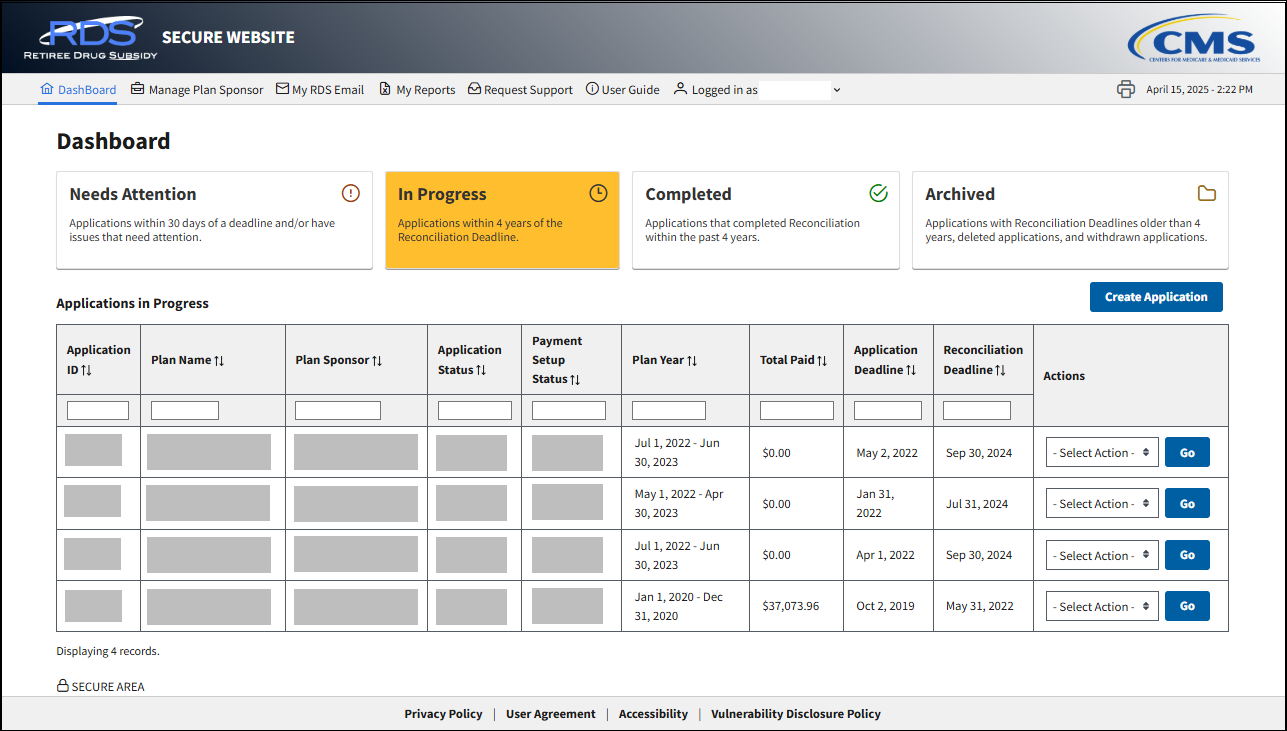
On the Dashboard page:
- All columns in the Applications table, with the exception of the Actions column, may be sorted by selecting the up or down
 symbol. Select the up or down symbol again to sort in reverse order.
 - All columns, with the exception of the Actions column, contain a Search field located in the cell directly below each column heading. Enter search criteria in a Search field for a particular column. Data within the column matching the criteria displays.
-
Select an Application ID to access that application.
On the Application Overview page:
The left navigation section provides links and status indicators for each step in the Application Submission process, as well as links to complete application tasks for each step of the application lifecycle.
The Plan Sponsor section provides the following information about the Application:
- Plan Sponsor ID
- Plan Sponsor Name
- Account Manager
- Authorized Representative
- Application Name
- Plan Year Start date
- Plan Year End Date
- Application ID
- Application Deadline
- Reconciliation Deadline
- Application Status
- Application Submitted Date
- Initial Retiree List Received Date
- Attestation Status
The Team section lists the Actuary and all Designees (optional) assigned to the application.

Verify Registered User Information
CMS’ RDS Center requires users of the RDS Secure Website (SWS) to periodically verify their Registered User Information in order to provide consistent, accurate information and uninterrupted access to the system. If you have not already verified your information recently, you will be prompted to do so during login after selecting Accept on the Login Warning page.
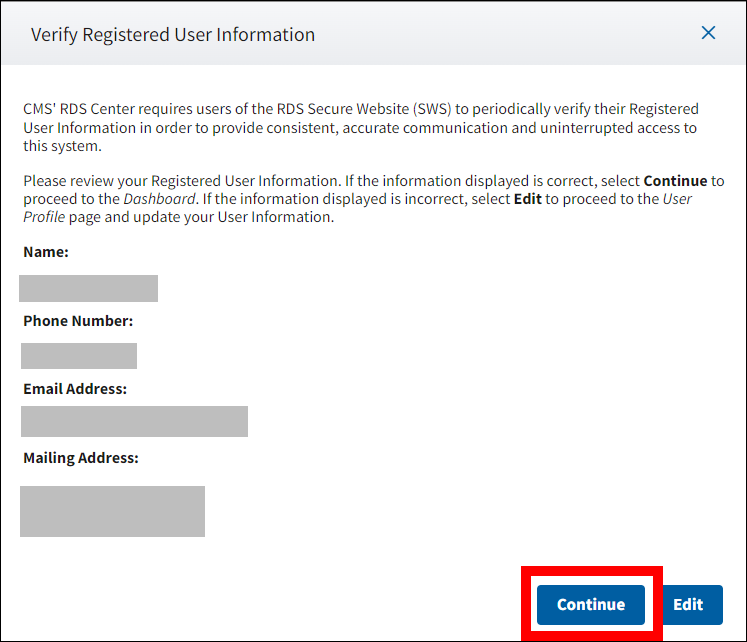
On the Verify Registered User Information page:
-
Review your Registered User Information: Name, Phone Number, Email Address, and Mailing Address. If the information displayed is correct, select Continue to proceed to the Dashboard, or select X to close the window and verify your information during your next login.
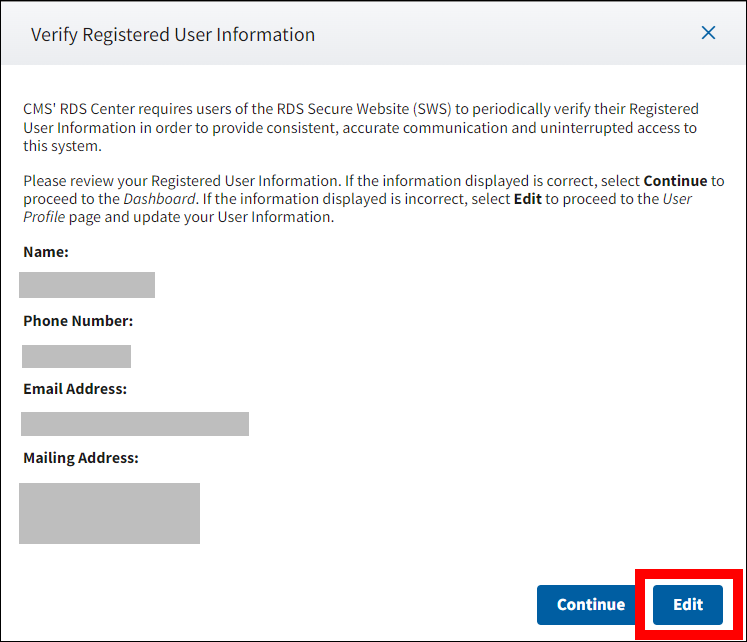
-
If the information displayed is incorrect, select Edit.
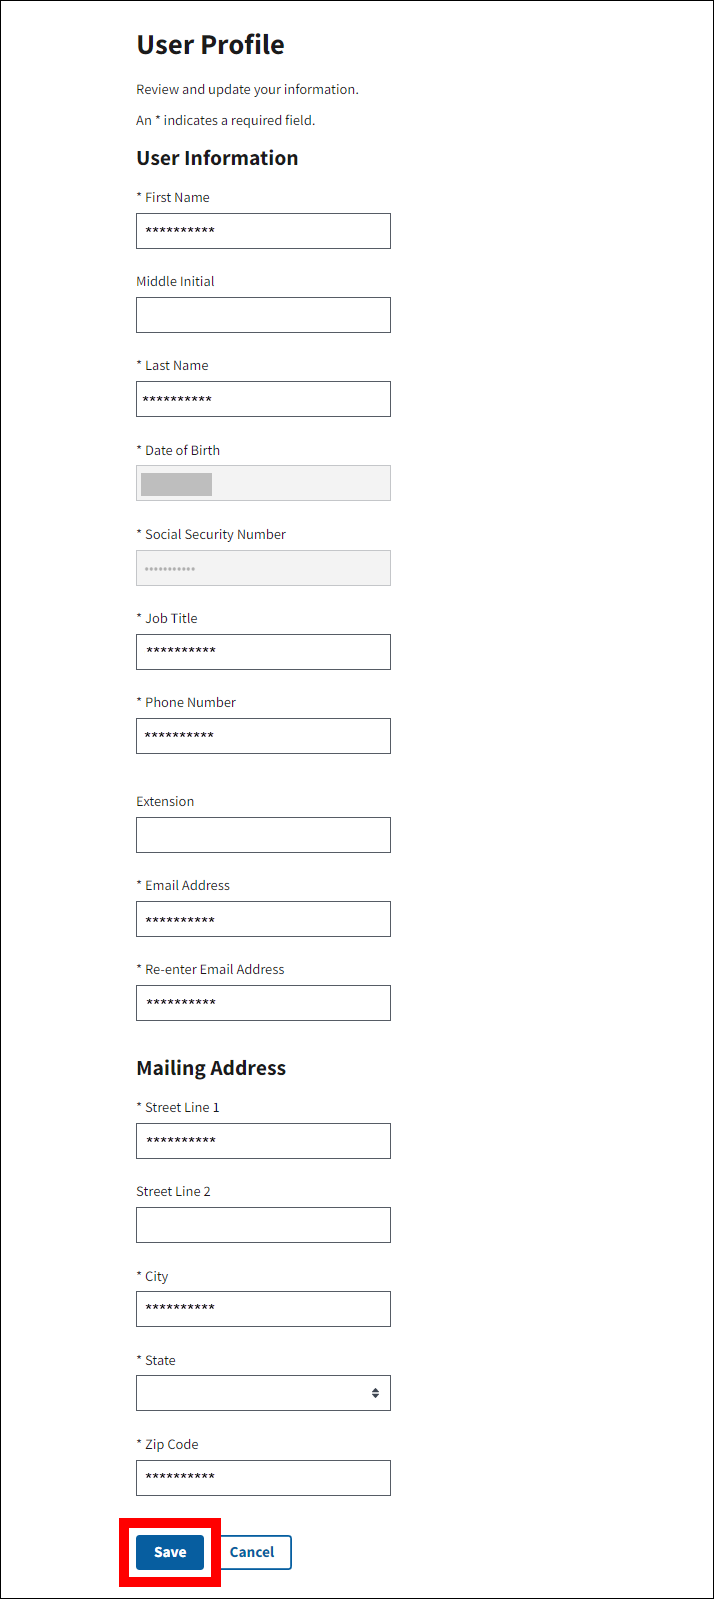
On the User Profile page:
An asterisk (*) indicates a required field. Information that cannot be changed will be displayed as view only.
- *Enter the new User Information and/or Mailing Address, as needed, and confirm your email address in the Re-enter Email Address field.
-
Select Save to save your User Information and/or Mailing Address changes.
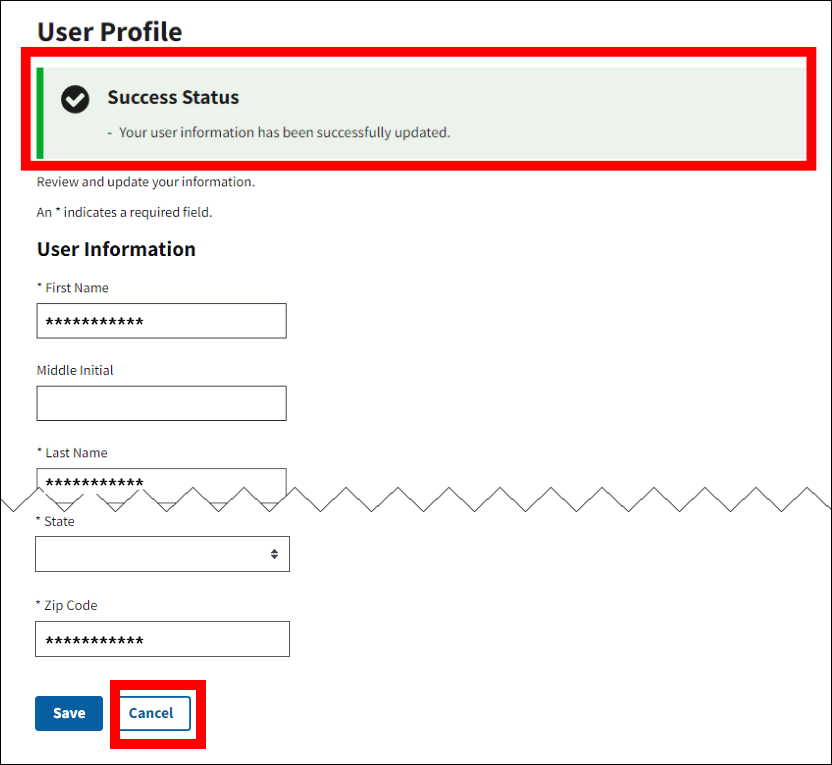
-
The User Profile page refreshes to display a Success Message stating that the information has been successfully updated. Select Cancel to proceed to the Dashboard.
Troubleshooting
Error Message Descriptions and Resolutions
Use the following table to assist in resolving errors associated with accessing the RDS Secure Website.
| Message Text | Message Type | Condition | Resolution |
|---|---|---|---|
| You did not enter a Login ID, Password and/or MFA Token. Enter your Login ID, Password and MFA Token. | Error | Required field(s) left empty. | Populate all required fields with valid data. |
| There is an issue with your Login ID, Password and/or MFA Token. If you have forgotten your Login ID, select Forgot Login ID to receive an email containing your Login ID, or select Forgot Password to reset your Password. If you have an issue with your MFA Token, select Manage MFA Settings to reset MFA. | Error | Invalid login credentials were entered. |
|
| The Login ID, Password or MFA token entered is incorrect. If you do not enter the Login ID, Password and MFA Token correctly, your Login ID will be locked. | Error | Invalid login credentials were entered. |
|
| The Login ID is not active. | Error | Registration was successfully completed but the account is still in “Pending” status awaiting verification of the user registration data. |
|
| You did not enter the Login ID, Password and MFA token correctly. The Login ID is locked. Select Forgot Password to reset your Password. | Error | Invalid login credentials were entered too many times. |
|
| The Login ID is locked. If you have forgotten your Login ID, select Forgot Login ID to receive an email containing your Login ID, or select Forgot Password to reset your Password. | Error | Invalid login credentials were entered too many times. |
|
| Your account has been disabled due to inactivity. To re-enable your account, select the Enable Account link in your RDS Secure Website User Account Disabled email. To send the email again, select Re-send. | Error | You have not logged in within the last 180 days. |
|
| Your password has expired, please change your password now. | Error | Your password is older than 180 days. | Select Forgot Password to reset your Password. Refer to Change Password for guidance. Passwords can be changed five (5) times in a 24-hour period. |
| You have exceeded the maximum number of consecutive login attempts using a One Time Token. Please log in using your MFA Token. | Error | Users are permitted three consecutive uses of the one-time token feature. You have logged into the Secure Website three consecutive times with a one-time token. | Log into the Secure Website with your Google Authenticator token. Once you do, the one-time token counter will be reset to zero and you will be able to use a one-time token again. If you need to reset your MFA configuration, refer to MFA Reset Instructions. |
Field Formats
Use the following table to assist in logging into the RDS Secure Website.
| Field Name | Required or Optional | Size Limit | Character Requirements | Notes |
|---|---|---|---|---|
| Login ID | Required | 8 – 15 Characters | Can only contain Uppercase letters, Lowercase letters or numbers; created during Registration. |
|
| Password | Required | 8 – 14 Characters |
Password must include each of the following:
Created during Registration. |
Must be your current, active and valid Password. |
| MFA Token | Required | 6 Characters Exactly | Numeric only |
|
Page last updated: