
Overview
This section provides an overview of managing the Actuary role.
User Management is the responsibility of the Plan Sponsor. For data integrity and security purposes, CMS' RDS Center does not alter registered user information or role assignments on the user's behalf.
The Plan Sponsor can change or unassign the Actuary prior to application submission. If the application has already been attested, the newly assigned Actuary must attest the application prior to submission. If an application has been attested and submitted, the Actuary cannot be removed for any reason. If the Actuary retires, leaves their organization, or is not needed for any other reason, the Plan Sponsor does not need to reassign the Actuary role once the application is submitted. The attesting Actuary is associated with the application in perpetuity.
In order for actuaries to be invited to attest an RDS application, they must first opt-in to participate in the RDS program on the American Academy of Actuaries website. Please refer to American Academy of Actuaries: The Retiree Drug Subsidy Program for more information on this process.
If the Actuary needs to be reassigned to a different role such as Account Manager or Authorized Representative, please refer to the topics Reassign the Account Manager and Authorized Representative Roles and Assigning a Different Role to a Current RDS Secure Website User.
Step-by-Step Instructions
This section provides step-by-step instructions for managing the Actuary role:
Change an Actuary
Note: This process requires that you enter an email address for the person you want to reassign. Depending on the situation, you may navigate to one of three different pages during this process:
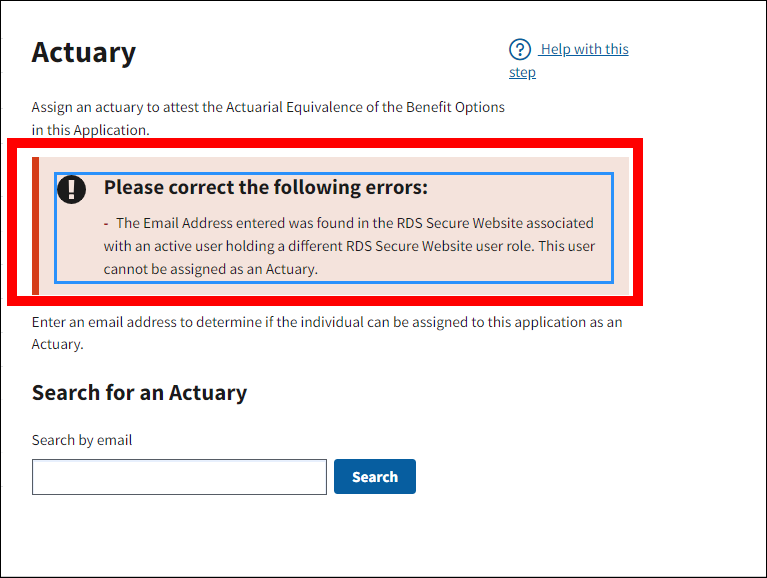
- Actuary Found and Cannot Use page: The Email Address entered has been found in the Secure Website, but this person cannot be assigned as an Actuary because they are already assigned a different role. The user must be removed from all applications and/or Plan Sponsor accounts they are currently associated with, including applications that have completed Reconciliation, or another individual must be selected.
- Actuary Found and Can Be Assigned page: The Email Address entered has been found in the Secure Website and this person can be assigned as the Actuary because they are currently assigned that role.
- Actuary Not Found page: The Email Address entered was not found in the Secure Website and this person can be assigned as the Actuary because they do not have another conflicting role.
To access the RDS Secure Website, and navigate to the Dashboard page, review instructions to access the RDS Secure Website.
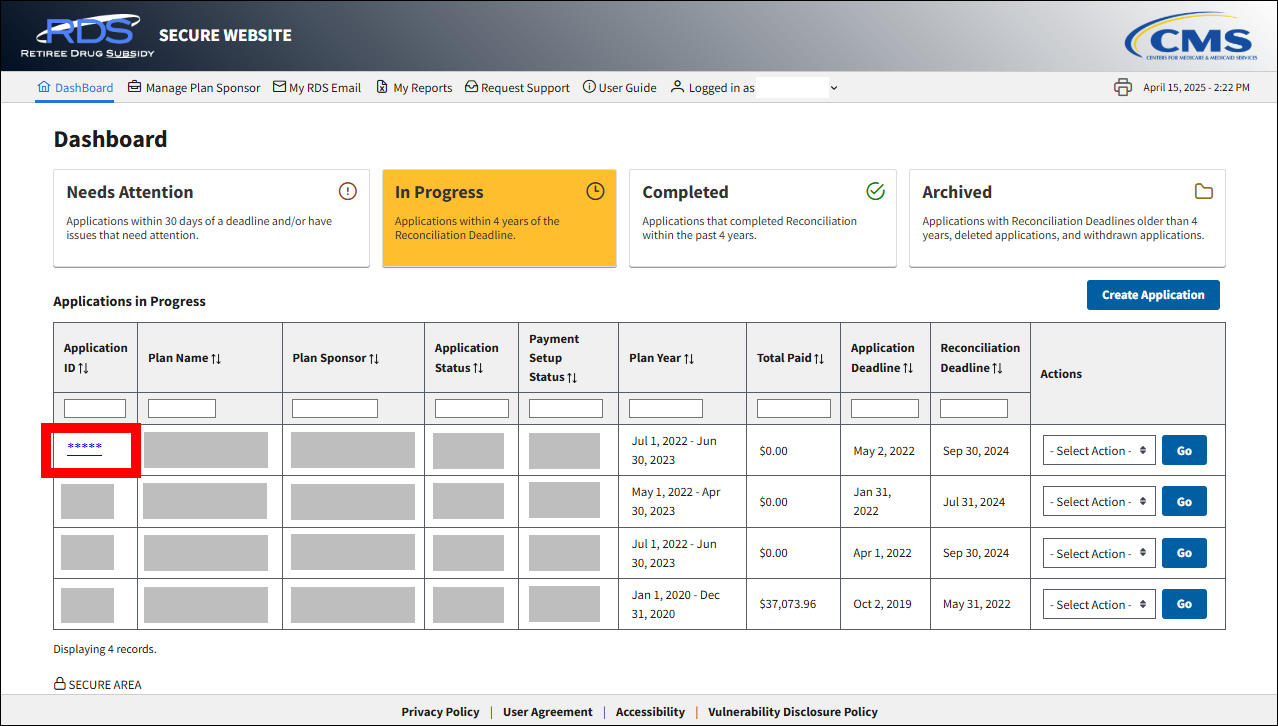
On the Dashboard page:
- Select In Progress to view a list of all Applications in progress.
-
Select the Application ID for which you want to change the Actuary.
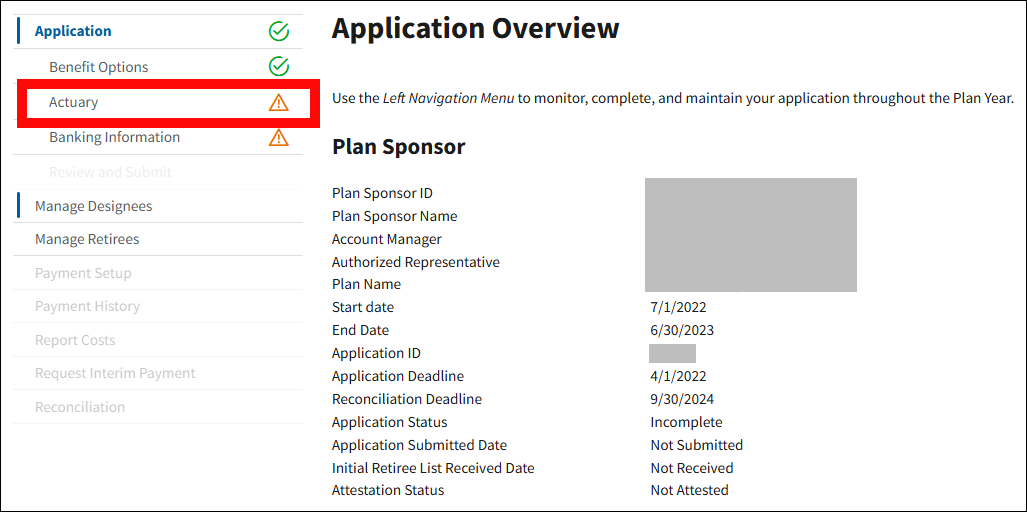
On the Application Overview page:
-
Select Actuary.
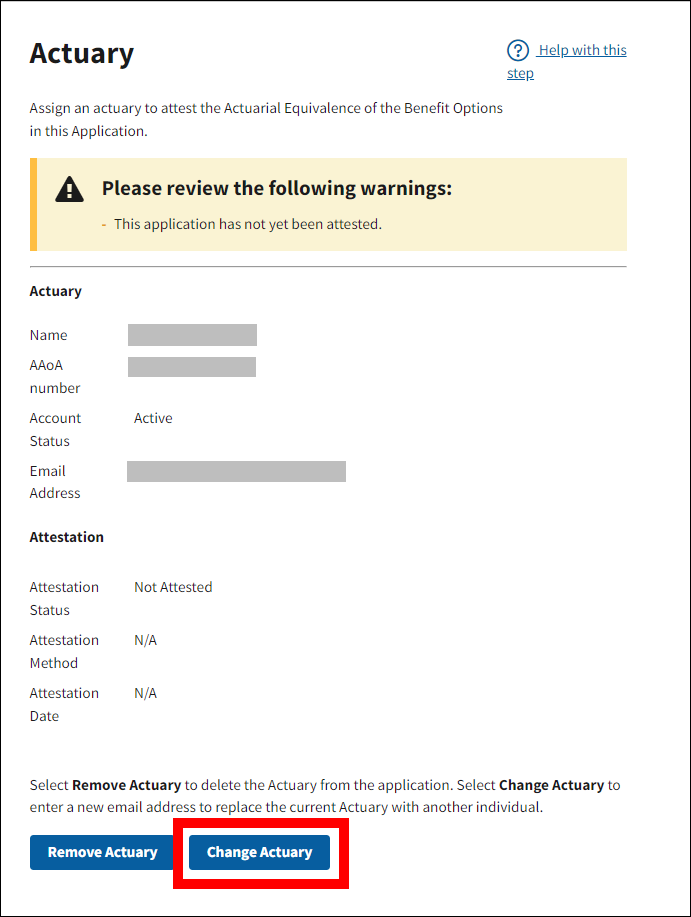
On the Actuary page:
-
Select Change Actuary.
An asterisk (*) indicates a required field.
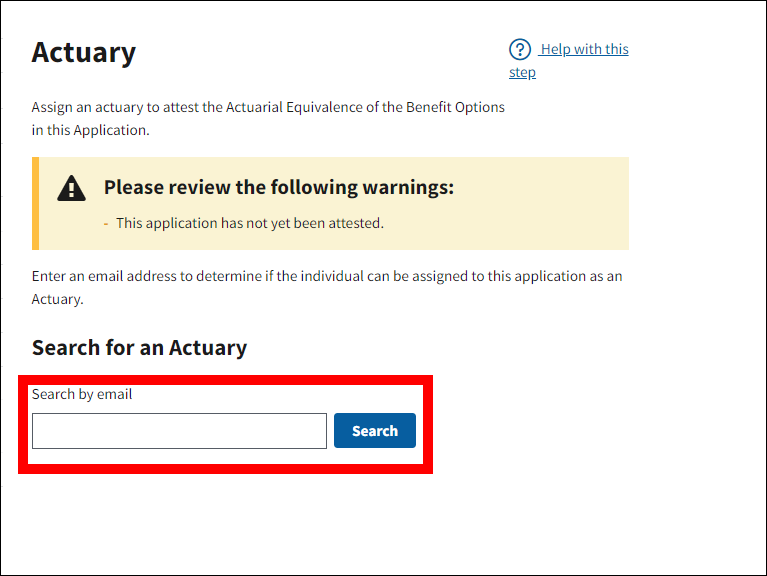
- Enter the email address in the *Search by email field.
-
Select Search.
Depending on the search results for the email address, one of three scenarios may occur:
Scenario 1: Actuary Cannot Use:
On the Actuary page:
- Enter the email address in the *Search by email field.
-
Select Search to search again for a different Actuary.
Or
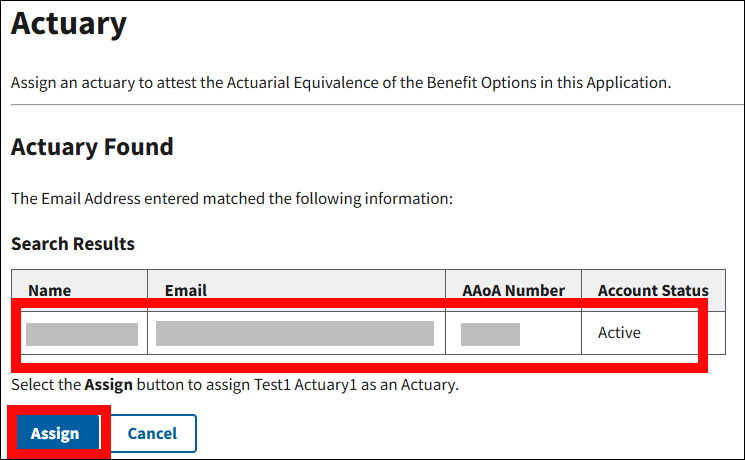
Scenario 2: Actuary Found:
On the Actuary page:
-
Select Assign to assign this user as an Actuary or select Cancel to return to search again for a different Actuary.
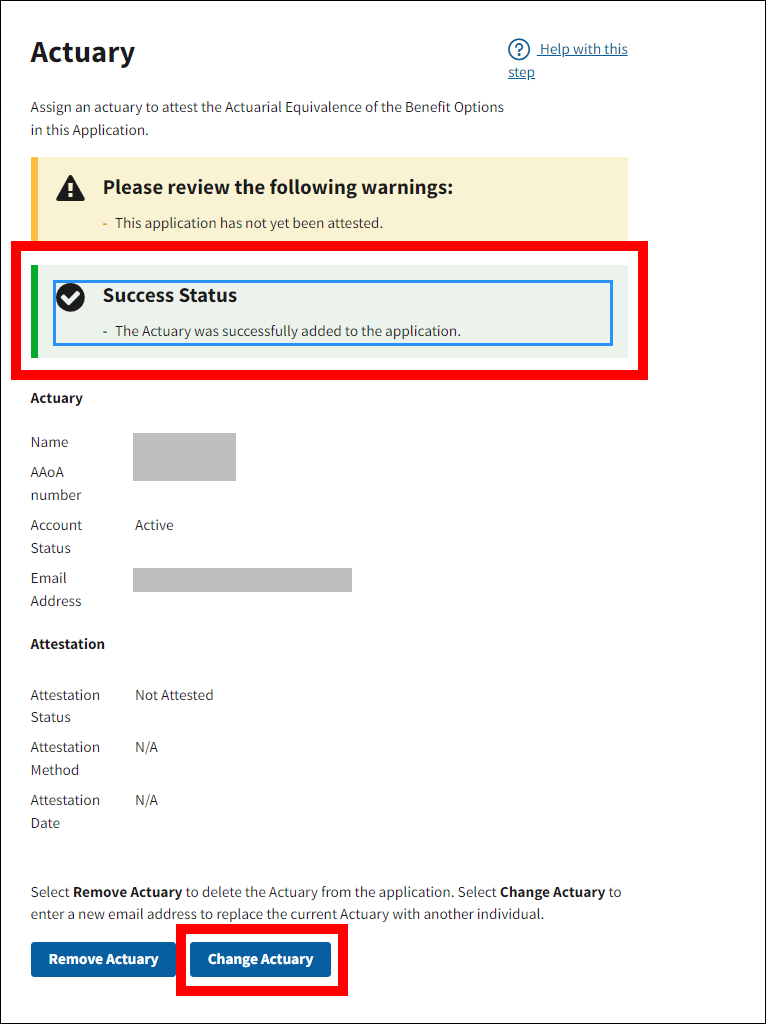
-
After selecting Assign, a Success message will display. You may select Change Actuary to cancel the current Actuary assignment and search again for a different Actuary.
Note: When the Actuary is assigned, an email is sent to the Actuary indicating assignment to the application and instructing that they must attest to the Medicare Part D equivalence of the plan.
Or
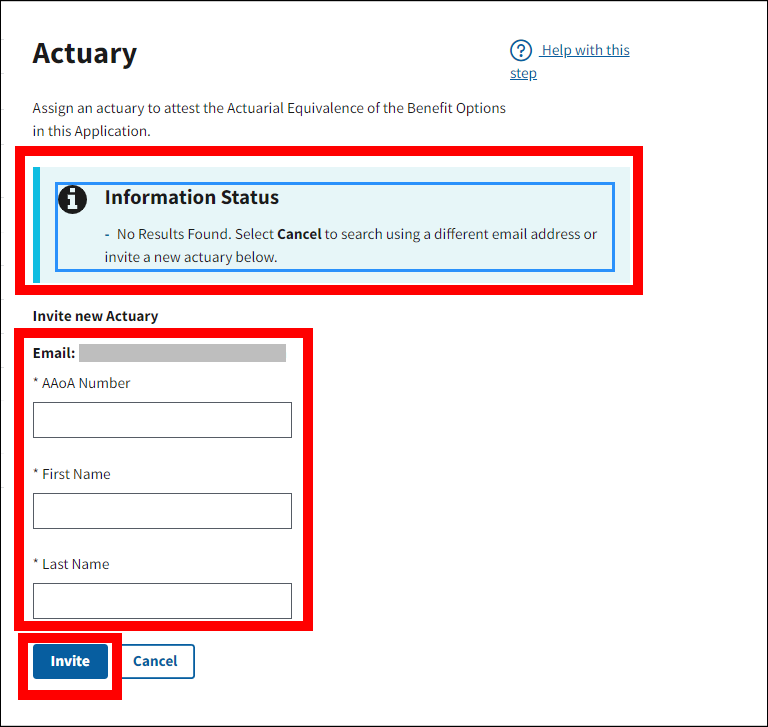
Scenario 3: Actuary Not Found:
On the Actuary page:
An asterisk (*) indicates a required field.
- *Enter the American Academy of Actuaries Membership Number.
- *Enter the First Name.
- *Enter the Last Name.
-
Select Invite to proceed or select Cancel to search again for a different Actuary.
-
After selecting Invite, a Success message will display. You may select Change Actuary to cancel the current Actuary assignment and search again for a different Actuary.
Note: When the Actuary is assigned, an email is sent to the Actuary indicating assignment to the application and instructing that they must attest to the Medicare Part D equivalence of the plan.

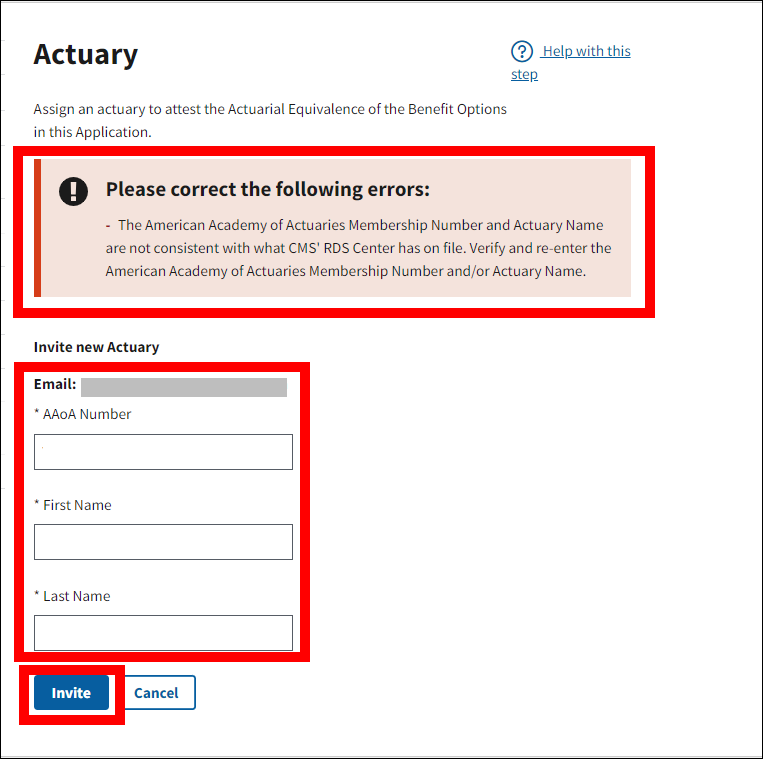
If the Actuary has not yet opted into the RDS program on the American Academy of Actuaries website, or if the American Academy of Actuaries Number and/or Actuary Name are entered incorrectly, an error message will display on the Actuary Page. To clear the error:
- Verify the American Academy of Actuaries Number and Actuary Name. Note: contact the Actuary directly to verify this information, if necessary.
On the Actuary Page:
- *Re-enter the American Academy of Actuaries Membership Number.
- *Re-Enter the First Name.
- *Re-Enter the Last Name.
-
Select Invite to proceed or select Cancel to search again for a different Actuary.
Remove an Actuary
On the Dashboard page:
- Select In Progress to view a list of all Applications in progress.
-
Select the Application ID for which you want to remove the Actuary.

On the Application Overview page:
-
Select Actuary.
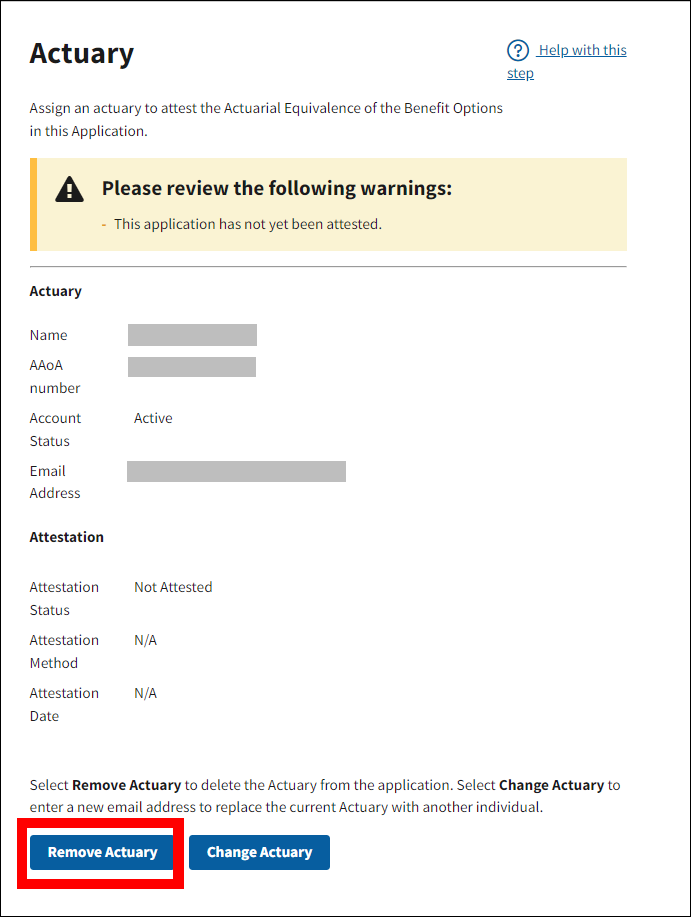
On the Actuary page:
-
Select Remove Actuary.
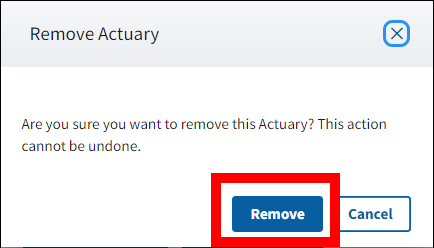
-
When the Remove Actuary pop-up displays, select Remove to unassign the Actuary from the application, or select Cancel to return to the Actuary page.
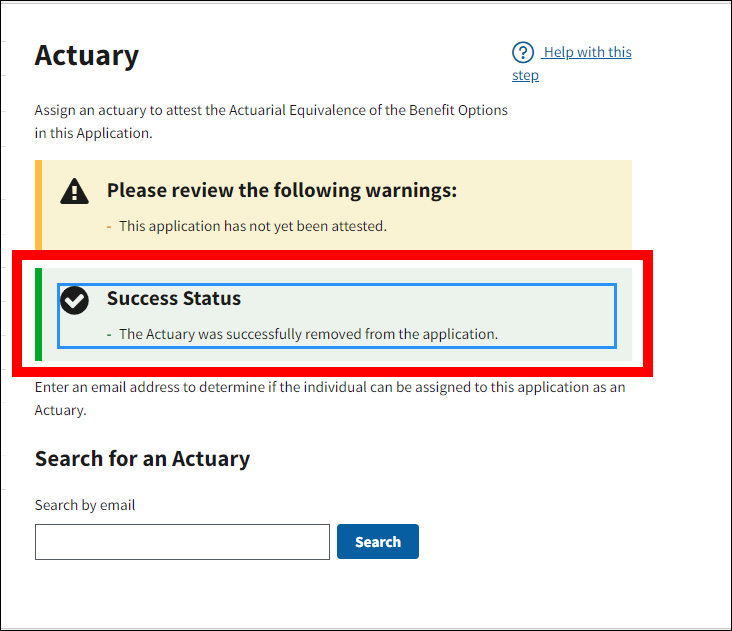
-
After selecting Remove, a Success message will display. A Warning message will display if the application has not yet been attested. Enter an email address and search again to assign a new Actuary.